
This post contains affiliate links.
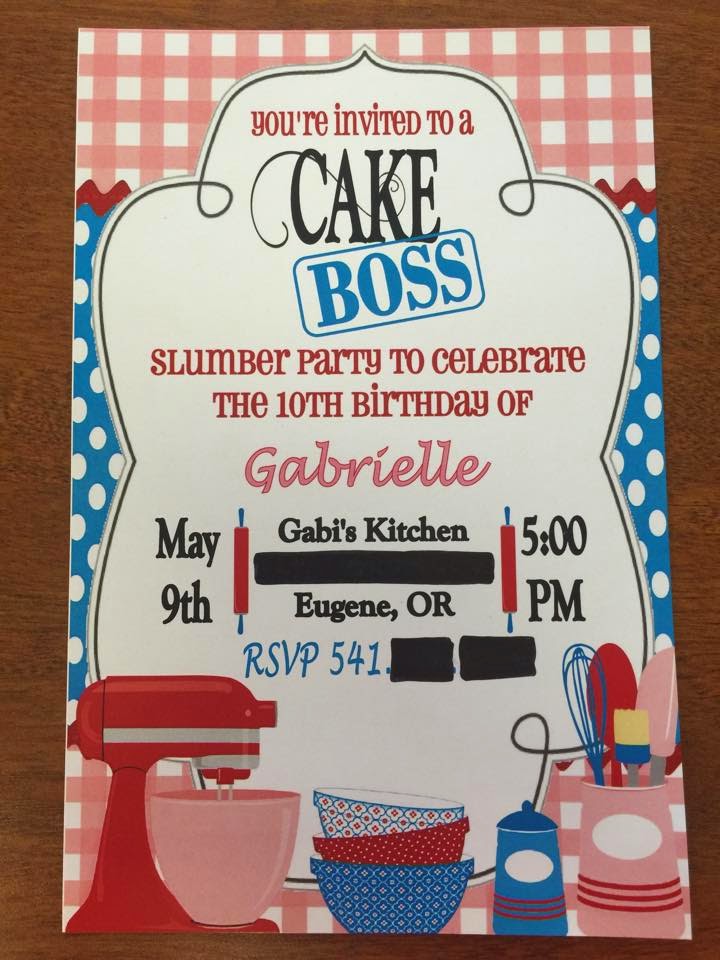
Who doesn't love the show Cake Boss on TLC? I know my daughter is one of the biggest fans which prompted her to choose a Cake Boss themed birthday party!


This has to be one of my favorite themes to date, and I've thrown some fun parties in the past, you can check them out here.
The weekend prior to this party we threw a Glow Party for my sons 12th Birthday, so it was literally tear down his and set up hers.
I started with a simple yet elaborate backdrop for one side of the room using plastic tablecloths strung with some twine and hung from the wall.


For $12 I had an amazing look and in less than 30 minutes!! I will be doing this again for sure!

I had an RSVP list of 9 girls and needed to come up with a table/seating solution that would keep the whole group together.
I pulled 2 six foot folding tables together and covered them with 3 red plastic tablecloths to allow more coverage on the sides, and then topped it with a white round. Who knew that the Dollar Tree sold rounds??? If you don't have a Dollar Tree near you, I also found there here on Amazon.

Meanwhile I was working diligently on all the fun details, and you may have seen some of them if you follow me on Instagram.

My amazing best friend designed this set of printables, along with the invites shown above!

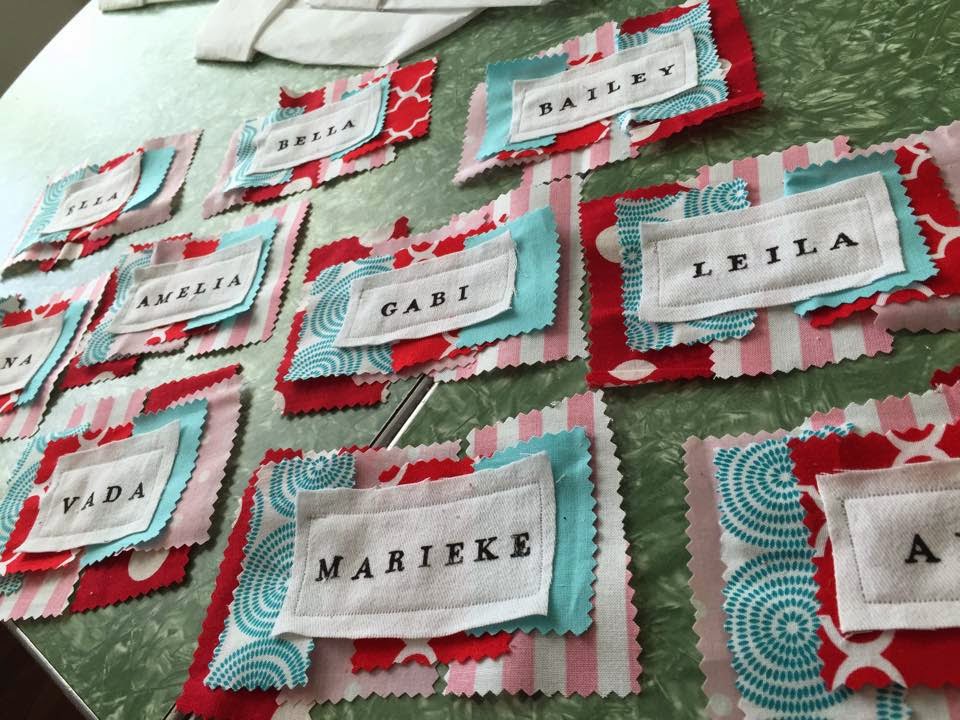
I ordered plain white canvas aprons and decided to dress them up with a little personalized name tag and pom pom fringe. I LOVE these so much that I am planning on making up a whole set for the volunteers to wear at our school's silent auction.


And of course had to make matching bakers hats! These were purchased on Amazon and dressed up with some simple cupcake liners that I already had.

Each day of that week I would do a little more to get the party set up. I used my red polka dot runners for the table and made some DIY cake stands that turned out perfect!


I used some placemats that I had in my carnival stash as their rolling mats for using fondant, and it really helped to pull the table colors together.

On the other side of the room I wanted to create a "bake shop" feel and somehow put up an awning. I used the same method with twine and plastic tablecloths, and it turned out fantastic.

This is where all the finished cakes would end up after they are decorated, ready to be sent home with our guests.

I dressed up this window in the room with a garland that was used as a high chair wrap at a previous first birthday party.


Above the main table I made some fun garland to match their aprons and hung some dollar store oven mitts as the center focal point.


Now moving into the fun, messy and must haves in order to have an official Cake Boss party!
The Cakes!! My sweet Mom helped by baking 12 cakes at her house for me, so I only had to make 8. But I also had to make several batches of butter cream frosting and even more batches on fondant.

This is what my kitchen looked like the night before the party.

My amazing friend Daneille came to my rescue and stayed until about 10pm to help assemble all 10 cakes, and she is officially the fondant queen!!

Once the cakes were done, we wrapped them in plastic wrap and placed them on the tables. This was when it all started feeling ready.


After the cakes were done and set up was complete, it was bed time!! The next morning I woke up and it was PARTY TIME!!!


Each girl was welcomed with an apron on their chair, a hat on their mat, a DIY rolling pin (closet rod) a small bowl of water for attaching fondant and the perfect mason jar for a cold beverage.


I got on my gear and greeted every one of them at the door. So many parents loved how involved I was and came in to take pictures of all the fun.

Once all the girls had arrived we jumped right in and started decorating!


It is safe to say that they had an absolute blast! I took pictures of each of the girls with their cakes for our scrapbook, but for obvious reasons I am only sharing the picture of the birthday girl.
She got a little carried away when the girls realized her cake was the one we would end up eating, and they all wanted MORE FROSTING. This is a case where less is more.

Once the decorating was complete, we boxed up each cake in these cute pink cake boxes and added a sweet tag! It was then time to move onto some good old traditional girls sleepover fun!!


Thank you all for stopping by to see all the fun we had at this amazing party! To see other parties I have designed you can click here.
Don't forget to follow me on Facebook and Pinterest, and you can find me on Instagram and Periscope @OneThriftyChick and on Twitter @JennJSheffler.
I hope you have a fantastic DIY day, come back soon!

Come Join me weekly at the following Parties:
Tuesday: The DIY Dreamer, The Winthrop Chronicles,
Wednesday: Gingersnap Crafts,
Friday: Remodelaholic, The Shabby Nest, Serenity Now, The Crafted Sparrow , Tatertots & Jello, Just Us Four, The Pin Junkie, My Turn For Us
Saturday: I heart Naptime, Flamingo Toes, Sew Many Ways,

2 comments:
oh my gosh, that is adorable. she must have the best birthdays!
b
Love all the adorable details...especially that backdrop and the mitts. Definitely going to share this with my followers. Happy Thursday!
Post a Comment
Living life, one thrifty adventure at a time!