
UPDATE: This is one of my first few blog posts, so forgive the amazing photography!
Is it really Valentines day already?? Wow, time flies when you are crafting!
I am going to show you a craft that I came up with last year, and since I didn't have my blog, the pictures really arent that great, so I am apologizing now! I also do not have step by step picture tutorials, but I will still tell you how to make them!!
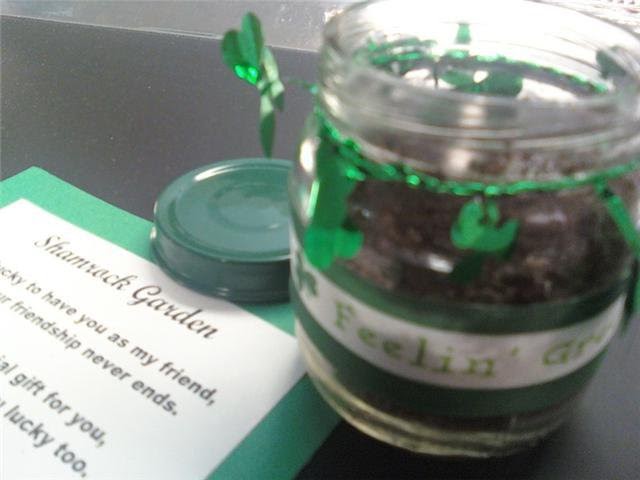
Here we go! This is the finished product!

Materials:
Babyfood Jars
Green Spray paint
Ribbon
Foil garland
Glass rocks (for drainage)
Soil
Hot glue gun
Potting Soil
Step#1 - Clean out the baby food jars and spray paint the lids green. (I used the $1 paint for this project from Wal-Mart)
Step #2 - Glue the ribbon around the center of the jar, and glue the garland around just under the neck of the jar.
Step #3 - Place the glass rocks in the bottom of each jar. (i used clear, but you could use green and that would look great too!)
OPTION- At this point I moved on to create the poem cards because I had the entire class plant their own gardens. It made a great class project, but the rest of the directions are as follows.
Step#4 - Fill the jars 3/4 of the way full with potting soil. Try to find some with fertilizer, like Miraclegro.... they grow faster! (or Organic)
Step#5 - Place 3 seeds in each jar, and top with potting soil, but do not pack them in tightly.
Step#6- Mist with water daily (do not over water) and keep in sunlight, and enjoy the luck all year long!
That is it! You are done... and keep in mind that the lids are ONLY used for transport, so make sure the kids know that, or they will not grow.
Here is the poem that I wrote, yes it's cheesy, but these were first graders!!!
Shamrock Garden
I am lucky to have you as my friend,
I hope our friendship never ends.
I have a special gift for you,
I hope it makes you lucky too.
Take it home and watch it grow,
and soon your luck will start to show!
Happy St.Patricks Day!
From Your Friend!
I hope you enjoyed this post! It was so much fun coming up with this project, and I cannot wait to think of a new one this year!!
Be Sure to stop by here and see where I like to party each week! Thank you for stopping by, come back soon!!

7 comments:
SO CUTE! I might have to do this with the kids at my daughters preschool!!
You should come link this up to my weekly Thursday through Sunday Making It With Allie Link Party! I think it would make a Fabulous addition!
AllieMakes.Blogspot.com
This is so cute! This is definately a project kids can help with & would enjoy!
Erica @ bisforboycreations.blogspot.com
This is such a cute idea! I love it!
That is a great idea! Thanks for linking it up!
SO cute! I am working on making this a project to do with my daughter's preschool class.
Thanks for linking up to Making It With Allie! I can't wait to see what you have for next week!
AllieMakes.Blogspot.com
What a cute project! I love small, easy gift ideas.
Such a cute little gift! Too bad you have to order the seeds...
Post a Comment
Living life, one thrifty adventure at a time!