This post contains affiliate links
I am so thrilled to have you stop by and check out this fun tutorial.

It all started with a massive stockpile of free lumber I have scored over the past few months. This particular unit of 1x4 came from my dad's best friends lumber mill. This was all scrap that they did not need. SCORE!

I grabbed a good amount of boards and headed into the house (yes, I build inside, because the workshop is not done) and started laying out the gate.


I used 10 - 32" Boards for the base, and then measured the width and cut the top and bottom boards to fit.

Using my cordless Ryobi Airstrike stapler, I attached the top and bottom rails.

This is hands down, one of my all time favorite tools. This is a must have and you can score it here.

I then measured vertically between the top and bottom rails, and cut 1x4's to create side rails.

Again using my Ryobi Airstrike Stapler, I attached the side rails.

This is the tricky part. I laid a 1x4 across the entire gate, and lined up where I wanted my cross board to be positioned. (no picture, I apologize) I marked on both edges of the board and then used a square to draw a line at the exact angle needed.
It worked like a charm. This is not the correct way a carpenter would do it, but in my 10 minute build it worked!

I did the same thing for the next set of cross boards.

I then threw on a quick coat of faux stain. What's that you ask? It's simple. Brown acrylic craft paint and a little water. It's odorless stain and works great!

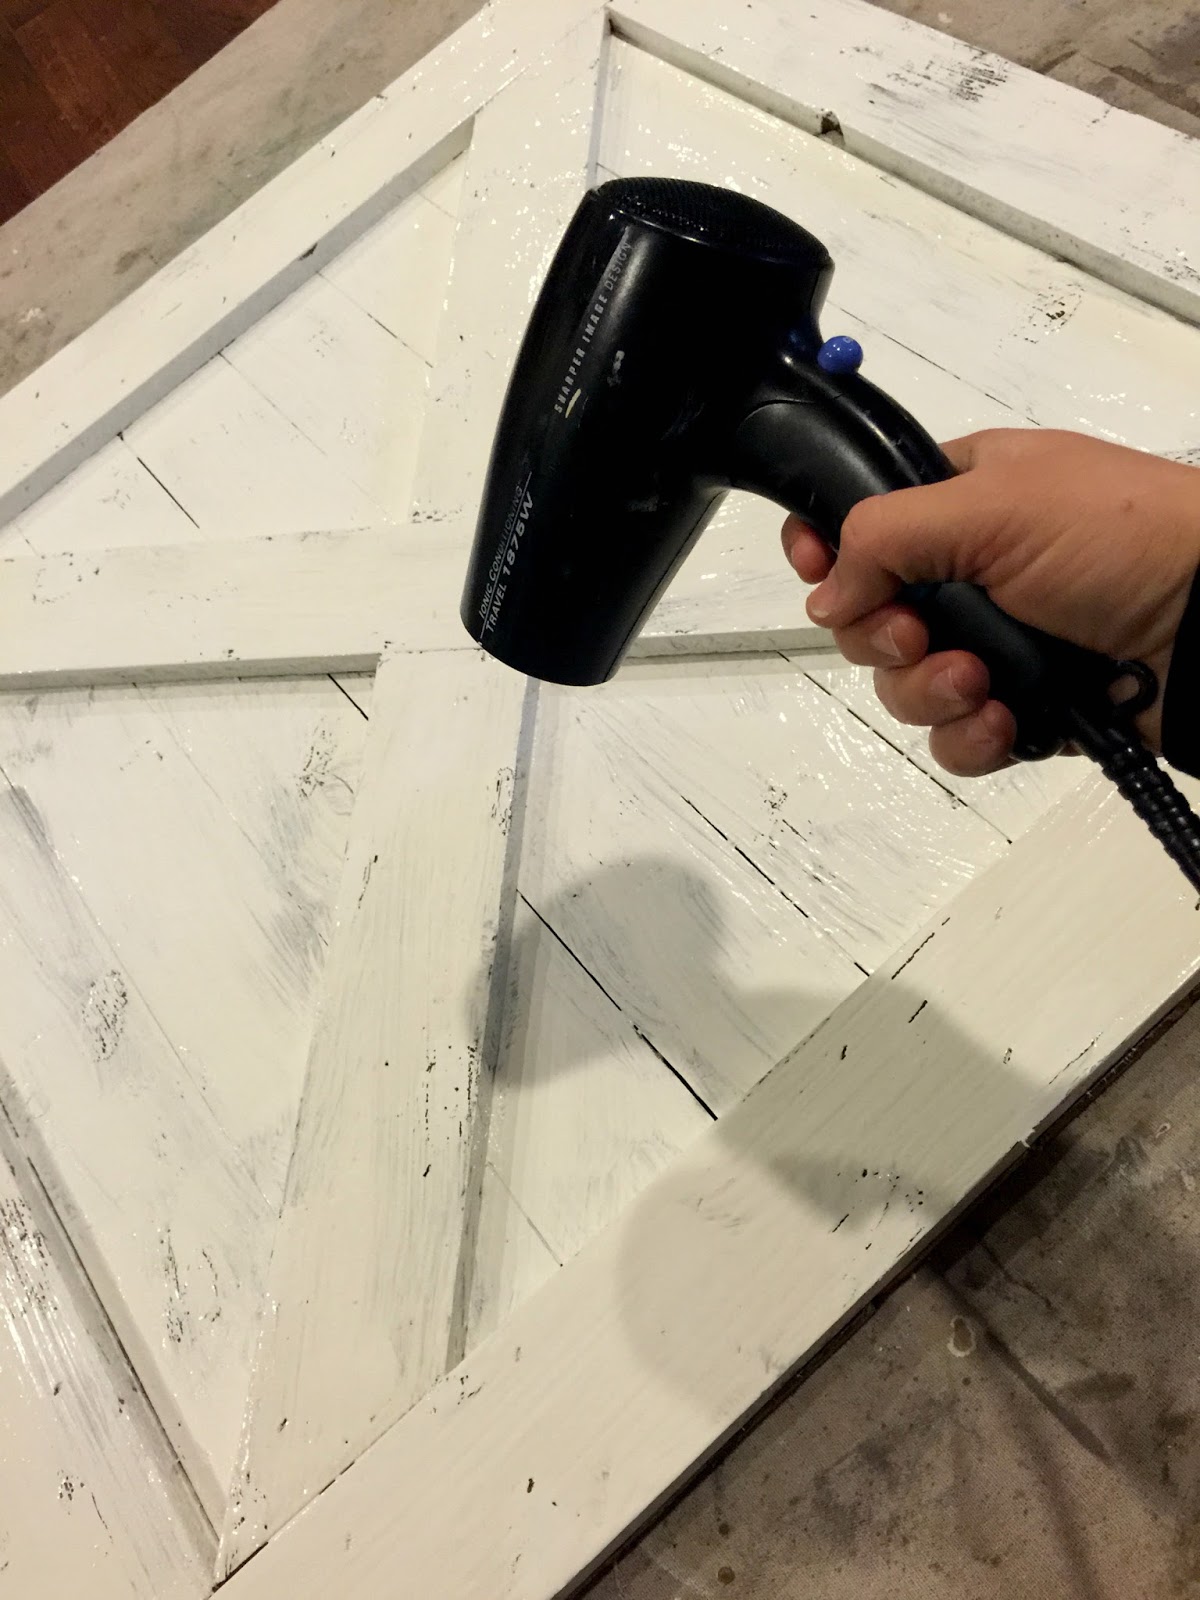
I wanted this project to move quickly, so I grabbed my craft blow dryer which sped up dry time quite a bit.

Alright, so I will admit, this is where my project took a wrong turn. I love the chippy paint look with Vaseline. You rub Vaseline on your board anywhere you want the paint to look chippy. Well I wanted it to look REALLY chippy.....

Once you have the Vaseline on, paint a thick coat of paint over the entire surface. I used Behr Flat interior white paint. Notice ALL that Vaseline? Yea..... I got carried away.

I used the dryer again to speed up project time.... I think we are at about 25 minutes at this point.
Once it dries, grab a putty knife or anything with a straight hard edge and run it along where you have placed the Vaseline.

It looks like perfect chippy wood. I was thrilled.

Wrong.... I got so carried away that it looked like a spotted dog. I was so bummed, but knew it was a quick free project that I could just start over if I couldn't salvage this one. Well, I decided to just paint over it all again.

I had plans to finish it the same night I started it, but a strange and scary turn of events landed me in the ER about an hour later. Everything is ok, and I will be fine, and boy do I have a fun ER story from my visit.

However, the next day my poor gate looked soooo sad. So I took it out to the garage and hit it with my orbital sander and absolutely loved how it turned out.

I was ready to start over, but once I got this perfect distressed finish, I was thrilled! I added an old rusty white gate handle and called it good.

I scored about 10 of these at an estate sale. At the time, my husband thought I was slightly nutty, but now he loves it.

I added a boxwood wreath that I got at Real Deals here in Eugene, and was excited to bring my mantle back to life. It's been empty for a week since I took Christmas down.


I brought my collection of white pitchers out and absolutely loved the bright crisp vignette it created.


But if you know me at all, you know I can't just leave it like that. We have Valentines Day coming up in just over a month, so I was ready to get the mantle decorated for the occasion.
I used some pom pom yarn and bakers twine that I had on hand and then grabbed the arrow garland from Target Dollar Spot, along with the heart doilies and arrow clips. This cost me $5 and I love it! Simple and to the point.

I look forward to decorating my new gate for all of the holidays this year!
Thank you for stopping by today. Don't forget to follow me on Instagram, Facebook and Pinterest, and you can find me on Periscope @OneThriftyChick.

Come Join me weekly at the following Parties:
Wednesday: Gingersnap Crafts,
Thursday: A Glimpse Inside, The Pin Junkie, The Answer is Chocolate, Imparting Grace, Meadow Lake Road, Designer Trapped in a Lawyer's Body
Friday: Remodelaholic, The Shabby Nest, Serenity Now, The Crafted Sparrow , Tatertots & Jello, Just Us Four, The Pin Junkie, My Turn For Us
Saturday: I heart Naptime, Flamingo Toes, Sew Many Ways,